8-bit CPU: Wiring and testing the new ALU
Once I had soldered the boards I was eager to test them. At first I "poked around" using jumper wires and boards appeared fine. To be absolutely sure, however, I have to wire them together into a new ALU block and hook it up to my Arduino testing device.
Boards are a bit elevated above the breadboards, so it seemed to be a good idea to run wires underneath the PCBs. To save on wiring, I opted for simple, fixed configuration (same as breadboard prototype and Ben's original), instead of my new, dual-output feature.
I tested the dual-output some time later, adding jumper wires for missing connections. The concept works fine, but it takes 14 control wires to tame the beast. This will have to wait for proper control logic.
The ALU block is not the only piece that is new. My new EEPROM writer features additional pin sockets, giving access to onboard shift register outputs. When no EEPROM needs to be programmed, it can be repurposed to switch control lines. I do not need my ad-hoc control line extender anymore.

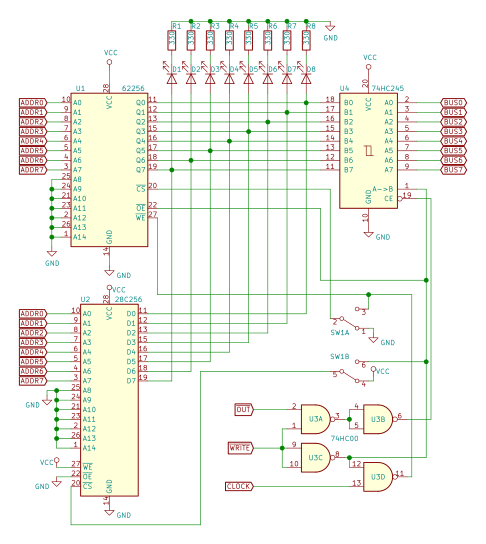
Here's another picture from assembly process. I "mocked" the board locations by plugging in spare pin headers. Also, if you look carefully, you may notice a silly mistake - I did not check the power rail orientation. Had to tear it apart and re-assemble in order to fit with the rest of the build.

Testing did not go as smooth as I hoped for either, but probably that was for the best. I found out that my "fancy" Arduino testing module is overengineered and useless, when it comes to diagnostics. It can prove that everything is fine, but adding new test case to pinpoint an issue takes too long. The programming environment also feels somewhat limited. Sure it's C++, but still there's a lot missing.
Back to the drawing board then. The new design is Python code that sends few low-level commands to Arduino:
- switch the control lines according to bits in control-word
- put a value on bus
- read what's on the bus
- read flags values
- pulse a clock
The logic that sends these commands is written in Python, so I do not need to recompile and re-flash the Arduino all the time.
At first I wrote a simple cmd-based utility for manual tests. It gives the same level of control as fiddling with jumper wires, the difference being that I can automate it.
The low-level commands were pretty tedious, so I stated to combine them together in higher-level functions. Suddenly they started to resemble assembly instructions. For example: to load a number into register A, code sends signals to enable A's LOAD line, puts the value on the Bus and pulses the clock. In other words - it's microcode. Microcode written in Python!
Another thing with Python is that now I can use Unit Test frameworks to organize and run tests. I initially used Python's built-in unittest library, but eventually switched to pytest for its features.
People keep stressing the importance of automated tests in software projects. In a hardware project like this one, it might have even higher value. Ability to run couple dozen test cases in just few seconds really gives confidence about the build. If wire comes loose, I should be able to spot that instantly.


Comments
Post a Comment