8-bit CPU: Display updates
The display module turned out quite nice, but there were some flaws I wanted to fix. In order to connect the module to the Computer, some additional hardware has to be added as well.
Flicker
I noticed that with a corner of an eye I can catch
some flickering, but when I at it directly, it appears to be fine. Ben
used 10 nF capacitor and 100 K resistor with 555 timer. I had no 100
K resistor, so I used 330 K instead. If we put the values in NE555 calculator,
it gives around 218 Hz. Each
display switches 4 times slower, resulting in 54 Hz. My eyes have always been sensitive to flicker, I remember when old CRT monitors gave me headaches with their 60 Hz.
After
short consideration I replaced it with 10 K resistor. It pushes up the
frequency to almost 7 kHz. While this may feel as an overkill, all chips are
rated for much higher frequencies than that. And now there definitely is no visible flickering.
Mode indication
I found out that it is a bit confusing not to know in which mode
the display is. What is the meaning of digits 20 shown? Is the value 20
(in decimal), 32 (hexadecimal) or 16 (octal)?
Leftmost display is mostly unused, it only shows a minus sign sometimes. I decided
to show 'h' when display is in hexadecimal mode and 'o' when octal. For decimal,
there's no need for signed/unsigned mode indicator. Mode does
not matter when value is smaller than 128, but if value is larger or there's a minus sign, it's also pretty clear.
Brightness
Another thing is that the displays
appear to be quite dim. I have to admit, that 7-segment displays are quite old, I bought them more than 10 years ago for something. Probably nowadays displays are built using more power-efficient LEDs, but I still want to find a reliable solution.
I checked using an ampermeter, and even with
current limiting resistor removed, the average current on the common
wire is 10 mA. When '8' is displayed it gives just 1.4 mA per segment.
On the other hand - with duty cycle of 25% it means that 74HC139 is going
flat out and pulling 40 mA when display is on. I feel that
is not very good for the chip, and still it does not appear to be enough.
I decided to bring in chips that are designed for high current switching. ULN2003 is a good candidate for switching the cathode side, it can handle up to 500 mA. One small annoyance is that ULN is activated by active-high logic, while 74HC139 has active-low outputs. Easy enough, however, just adding an inverter.
For the anode side I chose MIC2981/2982. That also is a chip that can handle 500 mA, but is suited for positive-side switching. It should do the heavy lifting, as EEPROM is not really designed to source much current.
In theory it looked good - 2 chips that can handle 500 mA, some current-limiting resistors and LED displays in the middle. Built the circuit, but when I turned it on, I was quite disappointed - the brightness was not even close to what I was expecting.
This time, physics got me. Collector-emitter saturation voltage to be exact. Turns out it is quite large for MIC2981/2982. On its output pins the voltage is ~1.5V lower than supply. Additionally, ULN2003 eats away another 0.7V.
So from 5V total supply, the display and current-limiting resistor receives only 2.8V. LEDs in display drops another 1.9V, leaving only 0.9V on the resistor. Only 0.9V to influence how much current should flow. I ended up using smallest resistors I could find at home - 27Ω, and even then the brightness was barely enough.
Another unpleasant side-effect was that brightness was very susceptible to supply voltage. With phone charger it was fine, but barely lit when powered from USB hub.
Obviously I tried the circuit without any current-limiting resistor at
all, the results were better, but I do not consider that a reliable option. In the end I found out that (while not designed for that), 74HC245 buffer chip performed much better than MIC2981.
I have not given up, though. My latest experiments using FDV301N mosfets look promising. Those are surface-mount, so I can not do full experiment on breadboards, will have to wait for PCB version. I was able to power a single LED with almost no voltage drop on the switch mosfets, however.
Register-like controls
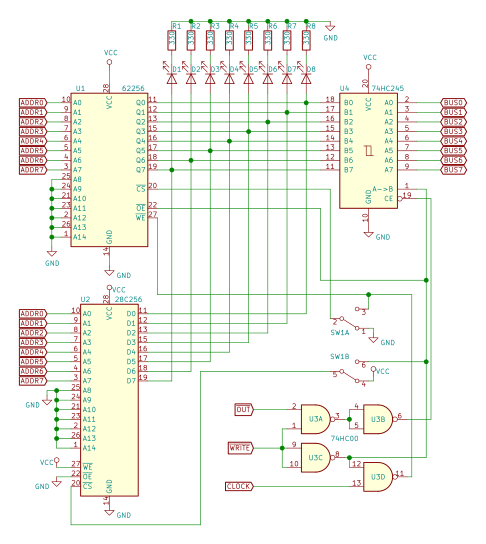
So far the module was just a display, it could not latch a value. In order to be used in Computer, some sort of register chips are needed.
Instead of using 273 or a pair of 173 register chips, I decided to use 161 counters instead. Why? They can latch a value just as well, but then the whole module can be used as stand-alone impulse counter as well. I think that might be handy sometimes. There's currently no option to control the display mode from software, but that's fine for now.
Here it is, ready to be connected. As you can see, the display contrast is not very great, especially when photographed (I even tried to enhance the picture in Gimp).

With the display module built, I have almost all modules ready to go. Only control logic is missing (I have an Arduino-based substitute), and I might need to work a bit on the software side.


Comments
Post a Comment